
As much as we all desire perfectly prepped CAD for our CFD simulations, it can often be prohibitively difficult or even impossible to obtain. However, the Shrink Wrap tool in Fluent provides a convenient, easy-to-use solution for problems just such as this. In this post, we’ll be producing a high quality mesh for an abdominal aorta, which is imported in medium-resolution STL format (NIH).
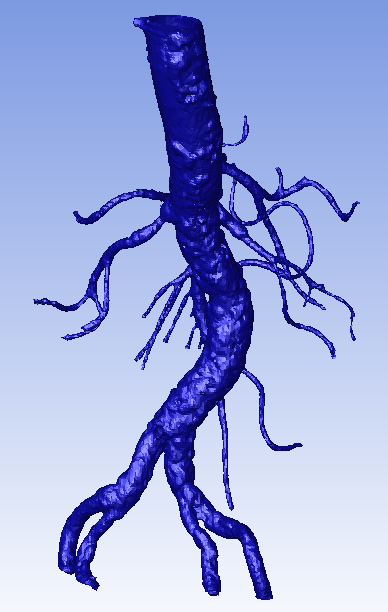
Figure 1. Aorta geometry, imported in STL format.
After importing, we use a bounding box to cap the aorta itself, producing the water-tight geometry needed to shrink wrap the internal volume (note the top and bottom portions are now “sealed”; the smaller branches are not open through their lengths and will be defeatured).
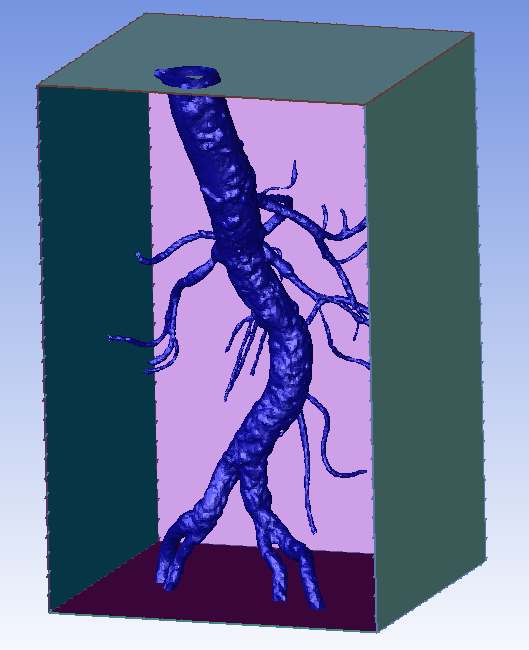
Figure 2. Bounding box is used to provide capping surfaces for the internal flow domain.
A material point is also created. This point determines on which “side” of the geometry the wrap takes place. As we want to mesh the fluid volume on the interior of the imported aorta surfaces, we want the material located where the fluid volume will be. Following this, size functions are applied. Here we can produce controls for curvature and proximity as well as hard, soft, and body-of-influence sizes.
After wrapping, we have a nice tetrahedral surface mesh (Figure 3). If we are unhappy with the quality, we can use some quick tools in Fluent Meshing to collapse or smooth cells using Diagnostics->Connectivity and Quality. We can also observe that the wrapper nicely defeatured our CAD, removing portions of the geometry that are irrelevant to the flow problem we intend to simulate. This is based on the sizing functions applied and can be used not only to defeature, but also to walk over small gaps and holes in CAD as well. This is one of the most powerful aspects of the wrapping functionality as you can selectively maintain or remove features in 1 simple step - without the need to edit first in CAD!
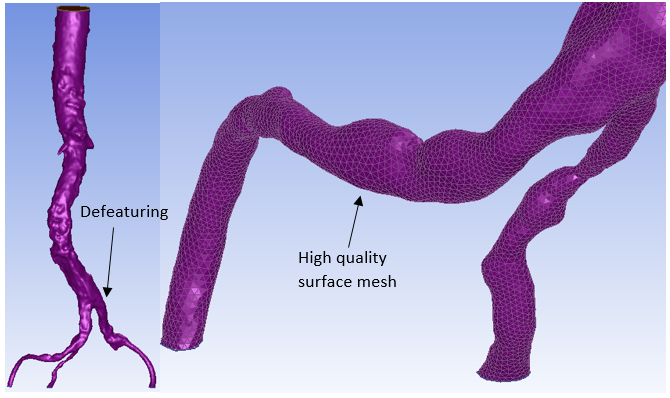
Figure 3. Tetrahedral surface mesh with defeaturing
Once we’re happy with the surface mesh, we produce the volume mesh using the AutoMesh feature - this allows you to define inflation layers and element types for the volume fill. We used polyhedra in this example as polyhedral meshes will result in 3-5 times fewer cells relative to tetrahedral and hybrid meshes. In addition, polyhedra also share information with more neighbours than tet or hex cells. Both of these factors typically result in faster convergence and a reduction in computational expense (Spiegel).
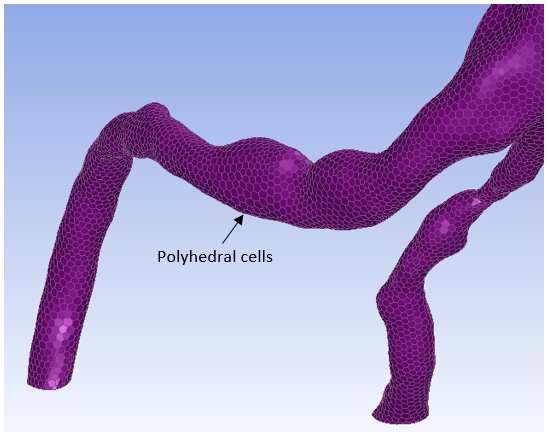
Figure 4. Natively produced polyhedral mesh (no conversion required).
Now that the volume mesh has been created, we can again improve the quality if we are unsatisfied, by using the Auto Node Move tool. With the volume mesh ready to go, we can use Prepare for Solve to clean up anything not needed for the solve portion.
As we have seen, the Shrink Wrap tool in Fluent provides a flexible and powerful method for obtaining high quality meshes on CAD that is difficult to work with in raw form. Whether the original geometry is organic, such as our example here, or has small gaps or features you would like to remove quickly and easily, the wrapper in Fluent Meshing can handle it all! If you would like a deeper look into the wrapping workflow, we have also created a video showing the same case from start to finish - you can view the video here:
References:
National Institutes of Health n.d., Abdominal CTA, NIH, Bethesda, viewed 3 February 2016.
http://3dprint.nih.gov/discover/3DPX-002591
Spiegel M., et. al (2011), ‘Tetrahedral vs. polyhedral mesh size evaluation on flow velocity and wall shear stress for cerebral hemodynamic simulation’, Computer Methods in Biomechanics and Biomedical Engineering, vol. 14, no. 1, pp. 9-22, viewed 3 March 2016, Taylor and Francis Online.


